wTrakLogoHdr3p0a.jpg (30979 bytes)
4x144.gif (69 bytes)
4x16.gif (54 bytes) wTrak_Cover_2p5a.jpg (43417 bytes)

Conventions
4x150.gif (70 bytes)

9x900.gif (184 bytes)
4x144.gif (69 bytes)
introduction
basicDimensions
safetyFirst
construction
construction_textures
construction_paints
construction_fabrics
construction_scale
construction_locomotives
electrical
tracks
creatingModules
conventionsUsed
standardModules
expansionModules
advancedModules
expertModules
accessoryModules
otherModules
resourcesAndLinks
4x16.gif (54 bytes)
4x20.gif (55 bytes)The following conventions are used in this guide. These visual cues indicate where tracks might pass over intersecting rail lines or drop below table level. A sense of where custom trimming is
needed is also shown for some of the simpler modules.

4x20.gif (55 bytes)To create a freestanding table, a support is required at each end of the module segments. Since modules generally share one support, the support on the left in most side views is shown for reference only.

4x20.gif (55 bytes)A small support ledge may be required with ground-level layouts to ensure they sit flat on an uneven floor. A 3" connector would be needed for a 'U' ledge and a 4" connector for 'T' ledge floor supports.

Storage & Other Tips
4x20.gif (55 bytes)Several of the modules are flat and stack easily. Others have features that extend above the playing surface. Two short plywood panels with holes could be used to bolt module segments together as an integral shelving unit. Space the holes in a way that the modules can’t trap hands or heads. Add a top and bottom with a few ledges on the sides and you have a simple storage unit where

9x40.gif (64 bytes)
conventions.gif (10903 bytes)

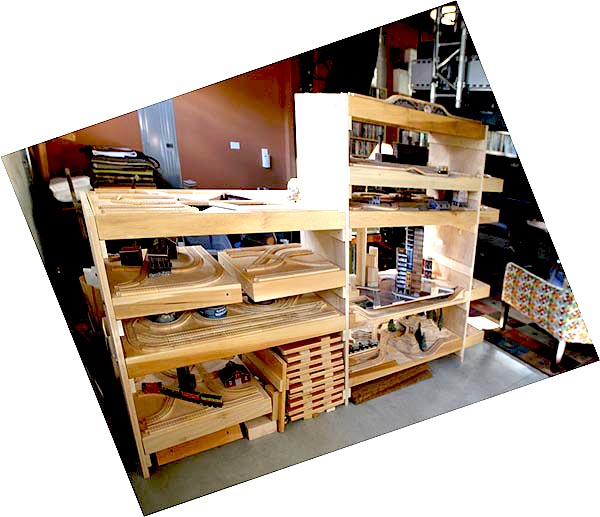
modules can just slide into place instead - like trays in a bread or bakery cart...

4x20.gif (55 bytes)Ensure clean, consistent track joints in your layout by making a simple bolt-on guide. Start with a leftover piece of plywood from your 1" thick support legs, glue and screw on four 4" joiners, and temporarily bolt this to the module end when affixing track.

4x20.gif (55 bytes)During layout set-up, use fender washers on each side of each joint to protect the module ends. Forged wing nuts make assembly especially easy and wrench-free. Bring a wrench along though just in case you outdid yourself during assembly...

9x40.gif (64 bytes)
lwrBorder.gif (1657 bytes)